Weekly Waffle #328 – If no one else can help you.
13th April 2024
For this week’s weekly waffle if you are of a certain age the tag line, if no one else can help, and if you can find them, maybe you can hire the A-Team will tell you nearly everything you need to know. I used to love the show and even liked the remake film. There is just something I find entertaining about the whole thing. So when this min came out I knew I had to have it my collection. But just what is it.
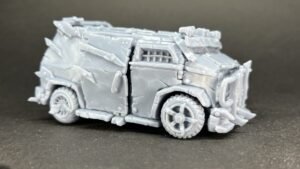
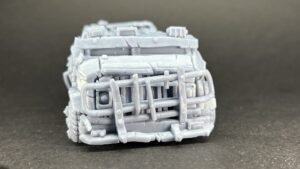
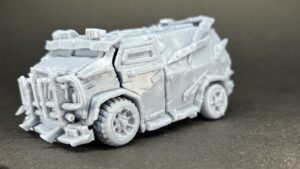
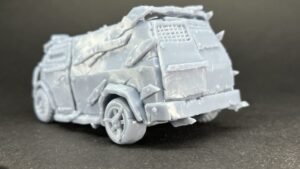
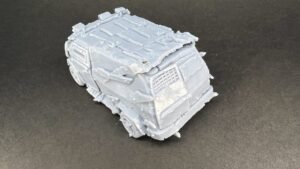
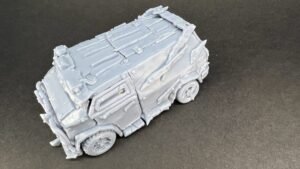
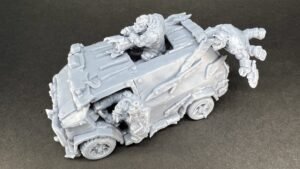
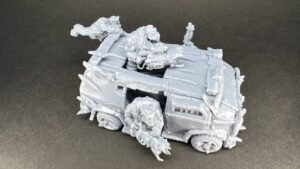
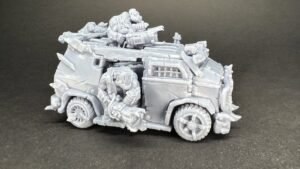
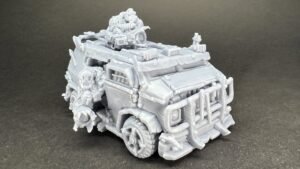
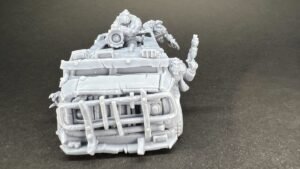
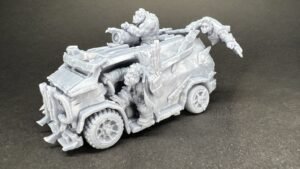
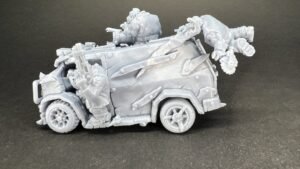
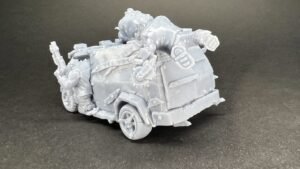
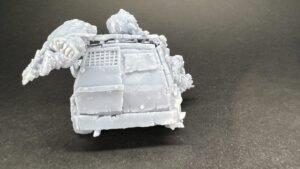
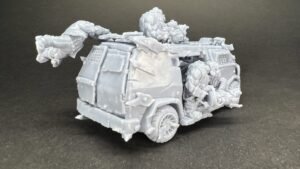
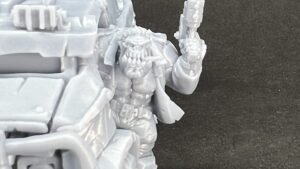
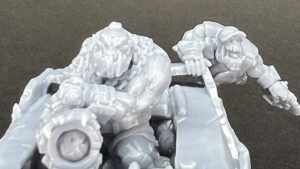
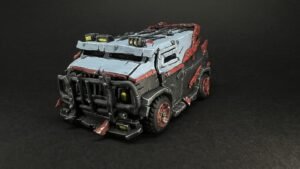
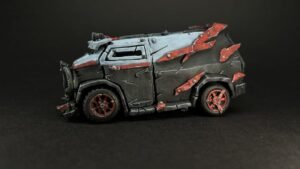
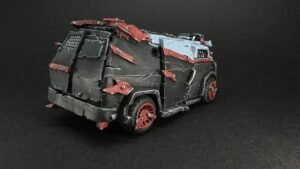
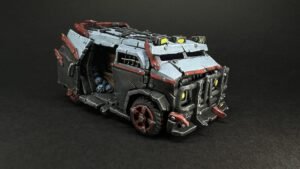
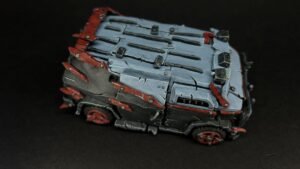
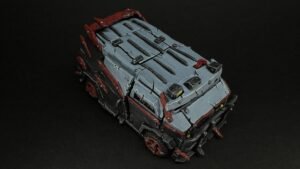
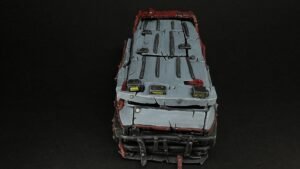
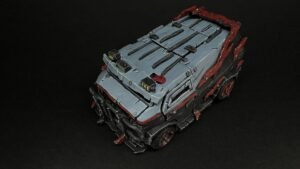
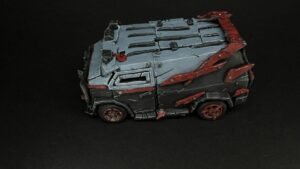
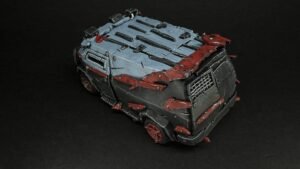
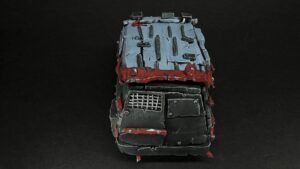
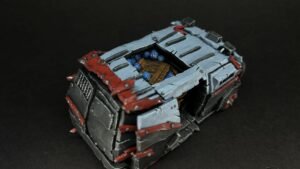
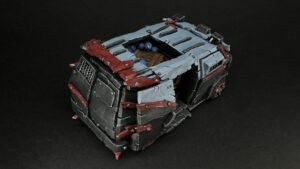
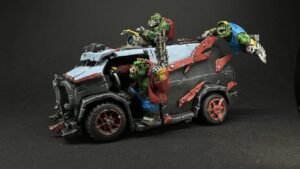
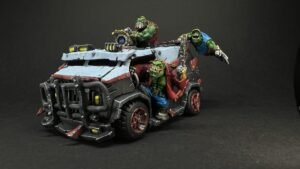
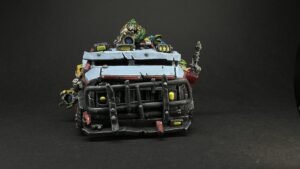
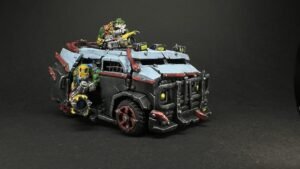
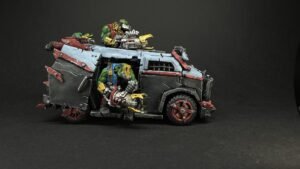
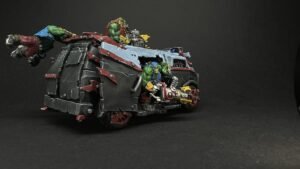
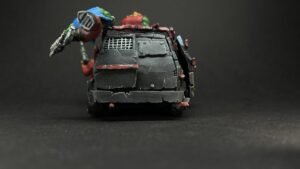
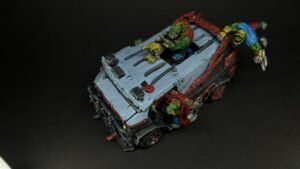
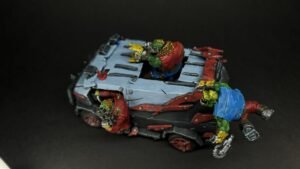
Here we have another creation from the Mechs over at Puppets War with what they are labelling as the ‘Ork Team Battle Van’ but what those of us at a certain age will firmly identify as the ‘A Team’ van. In game terms I would be using it as a Rukkatrukk Squigbuggy. Based on the weapons being carried by the crew all aligning to those in the rules. The key bits being the ammo in the back and then the shooter bit out of the left hand side, and in this case out of the roof. So I think that it is close enough that no one would get confused about what it is.
Something I had in mind before the kit even turned up was that I wanted to try and do a little bit of magnetic magic. The idea was to be able to have the mini with all of the characters in place but also to be able to take them off to make transporting the mini easier. At the same time I also wanted to see if I could build it such a way that the doors and roof could also be closed to give it a clean look.
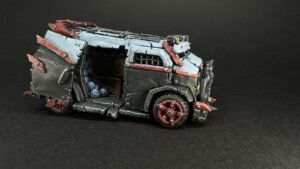
The plastic the model is made out of made adding the magnets a bit of challenge because it is very brittle and tends to shatter rather than allowing you to drill a nice clean whole. But I went slowly an managed to get most of what I was looking for. The crew is now magnetised which makes it easier to both paint them and to transport the mini when completed. I have also manged to get things in place so that I can have the doors closed or open, or in the case of the driver’s door removed. Which is what I was trying to do from a build perspective. Once again there aren’t that many parts and clean up was very easy so it didn’t take long at all to have everything built up and ready for some colour.
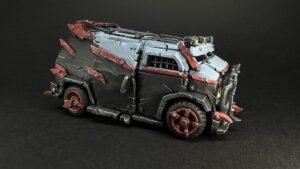
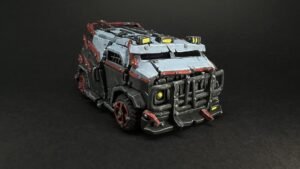
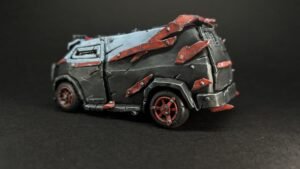
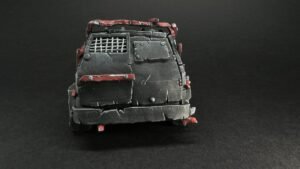
When it came to the colour scheme there wasn’t really any chose but to go with the original black and red. Anything else just wouldn’t be right, even if it’s not really speed freak colours. The red stripe will allow it to keep up with everything else that has a proper red paint job. The real challenge with this paint job has been the black. It’s one of those colours that strikes fear into me when I have to try and paint it over a large surface. I had watched a few different YouTube videos for some inspiration and one of the themes that seemed to come out of all of the ones where I liked the finished model, was that it doesn’t actually have to be black to be black. They were saying that it has to reference to the eye as being black as opposed to it actually being black. So I’ve taken this onboard and tried to see what I can produce. One thing before I get into it that I think works in my favour is that I’m not trying to achieve a preteen black but something a little more worn.
So my take on what I think I learned from the collective knowledge of YouTube was to start with a black surface primer. Once that was dry I switched to a large dry brush and when with the darkest grey I could find in my paint box and went all over the mini. I wasn’t just trying to get the edges but also quite a lot of the flat surfaces. I then used a lither grey but this time just concentrated on catching all of the edges. At this stage I didn’t think it was looking that good but I still had a few more things I wanted to do before I was going to make a call on whether to restart or not. To darken things down a bit I used some thinned down black contrast paint. Using contrasts in this way is something I’ve been playing around with recently and I’m liking the results you can get with them. Anyway this took the overall colour back a bit closer to the black I was looking for but it did still look more like a dark grey mini than a black one.
Now for me this next step is the one that really changed how the mini looked to me. I used an off white to do a fine, or at least fine for me, edge highlight across all of the edges on the mini. This took a bit of time but I think it really changed the feel of the mini. When you look at the mini right in front of your face you can clearly see that it is predominantly dark grey but when you look at it from a distance, as you would on the table top, it really does look black. Now this could just be me fooling myself so I will let you guys be the judge. Although I didn’t take any pictures at this stage so you will have to wait a little long to decide.
The other predominant colour was always going to be red and I’ve done the classic stripe what you would expect but there were also a few extra bolt on pieces which I have also done in red. I just thought that do this would break up some the black and in Ork terms it makes the mini faster. The red I have just done in the same way as on all of my Ork’s which starts with a dark red and then builds up but leaves some of the darker colour showing. The idea is that it makes the colour look a little bit more worn. It’s a tried and tested approach and I like how it looks.
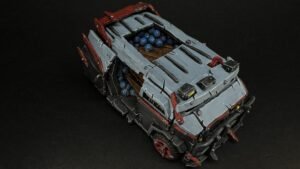
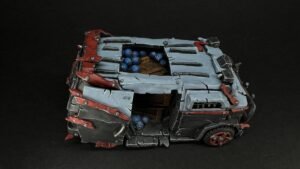
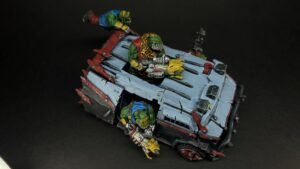
The interarea, which you may or may not be able to see with the crew in place, consists of ammo which is stored in a couple of creates as well as in a loose pile at the back of the van. For the creates I’ve just gone with a basic wood effect which I think works quite well against the black of the van. For the ammo I’ve gong with blue, because it’s lucky and hit more often. I’ve used the same technique here as I did for the red by starting with a dark blue and then building up so that it looks like it has been weathered rolling around in the back the van.
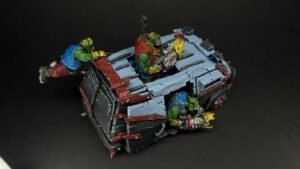
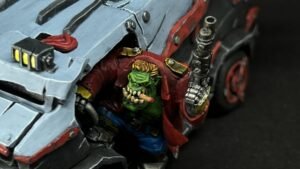
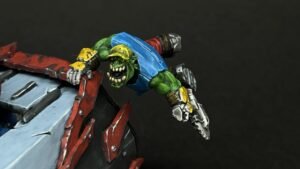
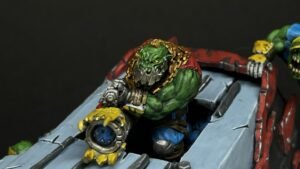
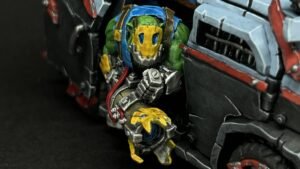
With the van finished I switched my attention to the crew and I made the decision to go with blue and red for the main colours in keeping with the rest of my Ork’s. I had primed them in black at the same time as the van and I then gave them a light grey dry brush to help me pick out where the highlights and shadows should go. I simply used a thinned down dark green as a abase and then built up from there to a goblin green highlight with about three steps. So nothing very special. To help smooth out the transitions is used a thinned down contrast of Ork Flesh and for the BA character I used a Dark Angles Green wash. There isn’t a great deal of difference but I didn’t want to mess around because I think it looks ok as it is.
I used a similar technique for the clothing where I used a thinned down red or blue to lay down a base colour which I then highlighted. Once I was happy with that I then used a thinned down contrast as a wash to darken things down a bit and add some much needed shading. The rest of the details were really quite straight forward but I did try to add some yellow in there which I have used as an accent colour throughout the rest of my Ork’s. I do like the blind on the MR T character and I tried to really give the gold some pop here.
The base isn’t quite right from a gaming point of view being a little bit large. But I wanted to get it on something and this is what I had available at the time. It’s magnetised so I can change things up in the future if I need to but for now I’m happy with things. The base is just meant to look like some sort of scrap yard in keeping with lots of my other minis and is the way I’m going with everything I’m painting in relation to Ork’s going forward.
Overall I’m really happy with how everything turned out. With one little exception. Once I had finished painting everything I had a niggling feeling that the van in the actual show was two tone and not just black. I had got so carried away with how to paint the black I hadn’t actually looked at any shots of the van from the show. So what I have ended up with a full black van when the upper half should have actually been metallic grey. I did toy with the idea of making the change and in the end my OCD got the better of me and I had to make the change. I know this isn’t metallic but it is grey and gives the two tone feel of the original. Painting the grey over the top of the black was a bit of challenge but I’m happy with how it turned out and think it does work well. So in the end I think it was the right move to make the change. Although if it had gone wrong I would probably be crying by now.
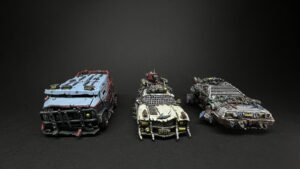
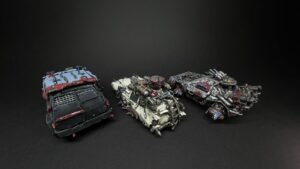
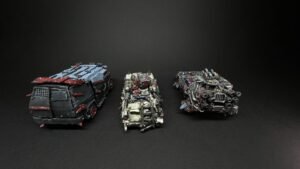
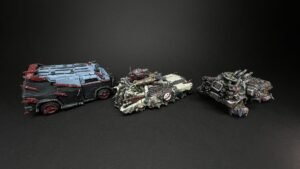
Speaking of the other film based Puppets War projects here we have the three that I have in my collection so far. The Time Jumper Racecar aka the DeLorean from Back to the Future, Orco-One aka The Ghost Busters Ecto-1 and last but not least Team Battle Van aka the A-Team van.
You can see more Ork miniatures at my gallery here.
When you look at them all lined up like this it sends a little shiver down my back. I have been looking at the Bat Mobile that Puppets War make but I’m really not a fan of Bat Man so I’m not sure if it will make it into the collection. Time will tell but it’s not the backlog at the moment.
That’s it for this week. Lots of Ork action and I have a lot more in the pipe line but I think I will mix things up and go back to some Necromunda for next week’s weekly waffle adding to the Inquisitor band I have been putting together. So until next week I hope you have a good week whatever you are up to and that they pile of shame is gradually reducing.

