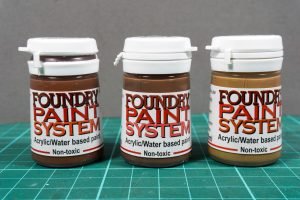
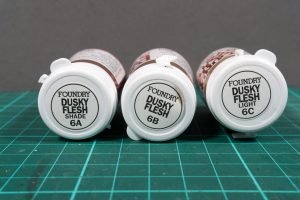
I’ve heard people talking about Foundry paints and in particular the way they package them with a shad, main and highlight colour all together but I’ve never actually come across them in person. Whilst at the Derby World war game show recently I took the chance to have a look at their booth and picked up their ‘dusky skin’ set.
I picked these up with something of a dual purpose, the first was to use them whilst painting my Malifaux Troubleshooters crew and I’ve used them as examples in this article. The other was to get a feel for how they put these together so that I can see if I can apply that approach to my existing paints.
So what do you actually get in a set and how much does that set cost? First of all I’ll cover off the price, which may vary depending on where you get them from. I paid £8 for my set which is a little bit more than some ranges with things like Citadel, P3 and Vallejo coming in at between the £2 to £2.50 price range. As for what you get that’s nice and simple, you get three pots of paint dark, medium and light. They are also available individually so you don’t have to replace them all at the same time when one runs out.
I’m not an expert on paints so I won’t try and tell you what the differences are between these and say Vallejo because I just don’t know. On a personal point I prefer dropper bottles simply because I find them more convenient especially when working with a pallet but that’s a picky little thing.
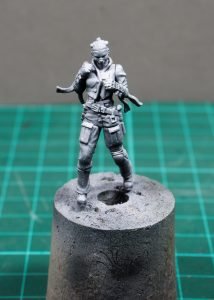
So what are they like to use. As a test model I decided to use Toni Ironside from my Malifaux Troubleshooters crew which had been primed using Vallejo Black Surface Primer followed by a zenith coat of Vallejo Grey Surface Primer. Which is how I tend to start all my models at the moment.
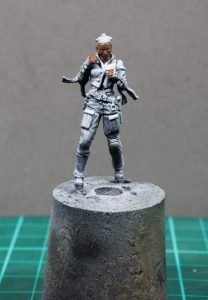
So with the model primed I started off with the ‘Shade’. I simply transferred some of the colour from the bottle onto my palate and then applied that straight to the model with no need to thin it down. The paint has a nice thin consistency and goes on really smoothly and covers really well. For this model the colour went onto the face and fingers.
Once the shade was dry I then moved onto the middle colour. However I did paint in the whites of the eyes at this stage as I didn’t want to have to make any corrections later if I messed it up. I applied the middle colour to all of the raised areas just leaving the more shaded areas in the original base colour. Again id didn’t thin this down and this also went on nice and smoothly.
The last step was to apply the ‘light’ colour as a highlight to those areas that would naturally catch the light.
With these three colours on I’m really happy with how it’s turned out. I tend to stick to a single way of painting skin so everything tends to look the same. This method has given me a different way of painting skin that I feel works well. It also gives me option of mixing this technique and colours with the way I already have to open different options.
So what do I think of this system. Overall I’m really happy with it and think it was money well spent. Granted you can easily do this with any paints but what Foundry have done is to give you the three paints that work well together. Over time and with some practice you could come up with your own colours to achieve the same result and I certainly plan on playing around with the different options. But this gives you a very nice foundation to work from.


